


CelebA: Overview of Datasets and a VAE Tutorial
What Is CelebA?
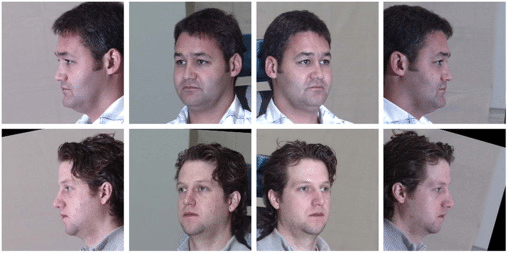
CelebFaces Attributes Dataset, or CelebA for short, is an image dataset that identifies celebrity face attributes. It contains 202,599 face images across five landmark locations, with 40 binary attribute annotations for each image. It currently includes data relating to over 10,000 celebrities.
CelebA includes many diverse images covering various poses and background variations. It provides rich annotations for the images useful for training machine learning and computer vision models.
The images from the dataset are a valuable resource for testing and training inputs for various use cases. You can use CelebA to train face recognition and face attribute recognition models. The dataset is also useful for landmark localization, face image editing, and image synthesizing tasks.
In This Article
Which Datasets Does CelebA Include?
CelebA offers three datasets optimized for different use cases:
CelebA Mask-HQ Dataset
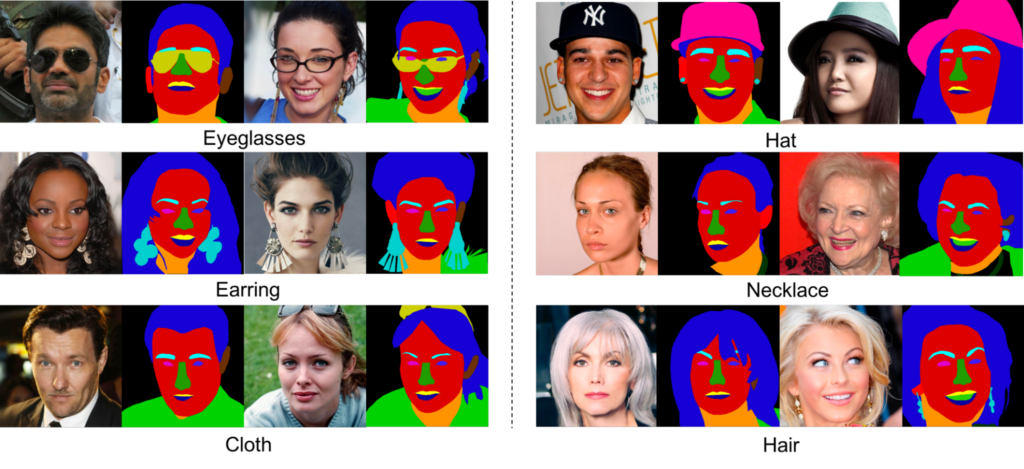
CelebA Mask-HQ is a smaller-scale image dataset focusing on high-resolution images of celebrity faces. It contains 30,000 images from the primary CelebA dataset. These images have segmentation masks based on the face attributes in CelebA—these are manually annotated masks with 512 x 512 dimensions. Nineteen segmentation masks correspond with specific facial features and accessories, including skin, eyes, nose, ears, hair, neck, mouth, lips, hats, eyeglasses, jewelry, and clothes.
You can use CelebAMask-HQ to train face recognition or face parsing algorithms. You can also use it to train Generative Adversarial Networks (GANs) for face editing or image generation tasks and to evaluate computer vision algorithms.
Source: CelebAMask-HQ
CelebA Spoof Dataset
CelebA Spoof is a massive face image dataset for anti-spoofing purposes – preventing individuals from abusing face recognition systems by pretending to be someone else. It contains 625,537 images of 10,177 individuals, with rich annotations of 43 facial and other attributes for each image. This dataset offers rich context, including different lighting, background, and spoofing scenarios.
CelebA Spoof uses specially selected and annotated live images from the primary CelebA dataset. Each image includes the 40 attributes from the original dataset in addition to three attributes related to spoofing images: spoof type, environment, and illumination.
You can use CelebA Spoof to train and evaluate anti-spoofing algorithms of face anti-spoofing, security evaluation and research, and Presentation Attack Detection (PAD).
CelebA Dialog Dataset
CelebA Dialog is a language-vision dataset with richly annotated facial images. It includes all the images and identities from the primary dataset with fine-grained attribute labels to classify features based on semantic meanings.
Each image has textual annotations describing the following attributes—beard, smile, age, eyeglasses, and bangs.
You can use CelebA Dialog as a training or test dataset for various computer vision tasks, such as fine-grained face attribute recognition, facial manipulation, text-to-image facial generation and editing, captions, language-based facial recognition, and multi-modal machine learning tasks.
Now that we’ve reviewed the data provided by the CelebA dataset, let’s dive into a practical application. The following tutorial shows how to train a variational autoencoder (VAE) using the CelebA dataset.

Source: CelebA-Dialog

Tutorial: VAE with Tensorflow and the CelebA Dataset
In this tutorial, we’ll show how to use VAE in Tensorflow to create new face images, based on a prior distribution obtained from the CelebA database and an encoder/decoder framework. This is abbreviated from the full tutorial by Chanseok Kang.
Prerequisites
Before you begin, load the following packages and initiative variables as follows:
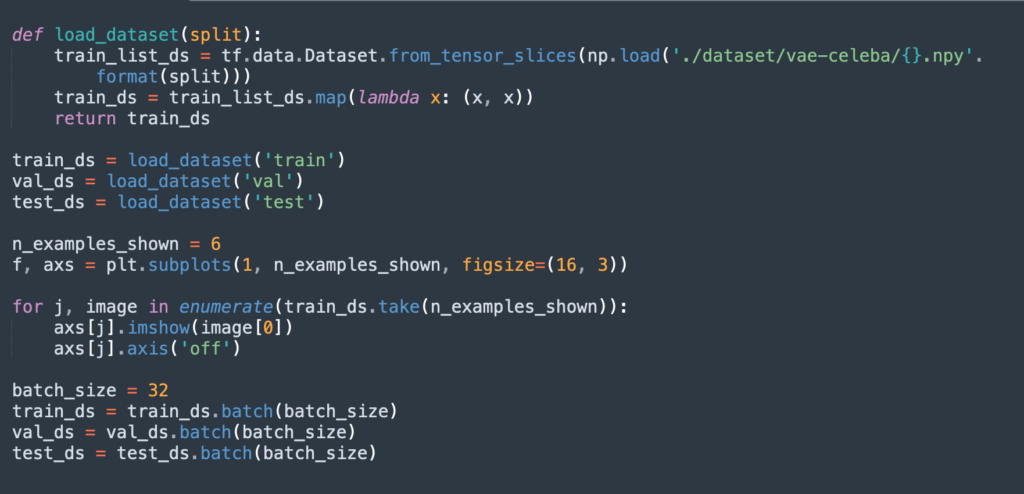
Step 1: Load the CelebA dataset
Use the following code to load and preprocess CelebA. We will use a training set of 10,000 images and a validation and test set of 1,000 images each.
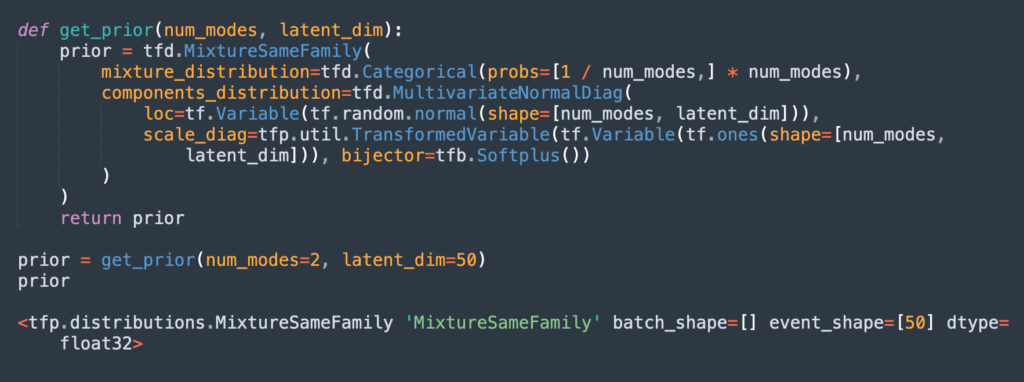
Step 2: Define Prior Distribution
The next step is to define the prior distribution of the images, which will be the input of the VAE model. Here is how to define a mixture of Gaussians representing the prior distribution. Each Gaussian component has a diagonal covariance matrix.
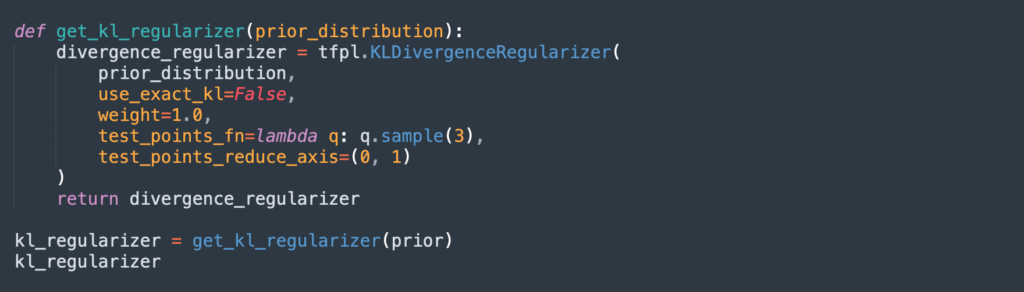
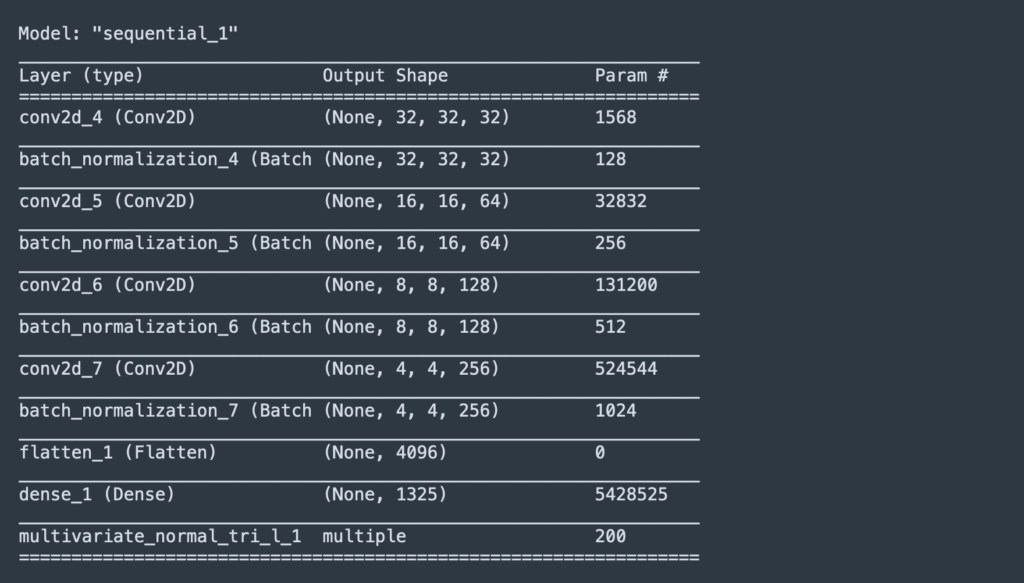
Step 3: Define the Encoder Network
The VAE model consists of an encoder and decoder. Here is how to define the encoder using a KLDivergenceRegularizer object, which can help us add the Kullback–Leibler divergence (KL divergence) necessary to define the loss.
The following Tensorflow output shows the structure of the convolutional neural network (CNN) that forms the encoder:
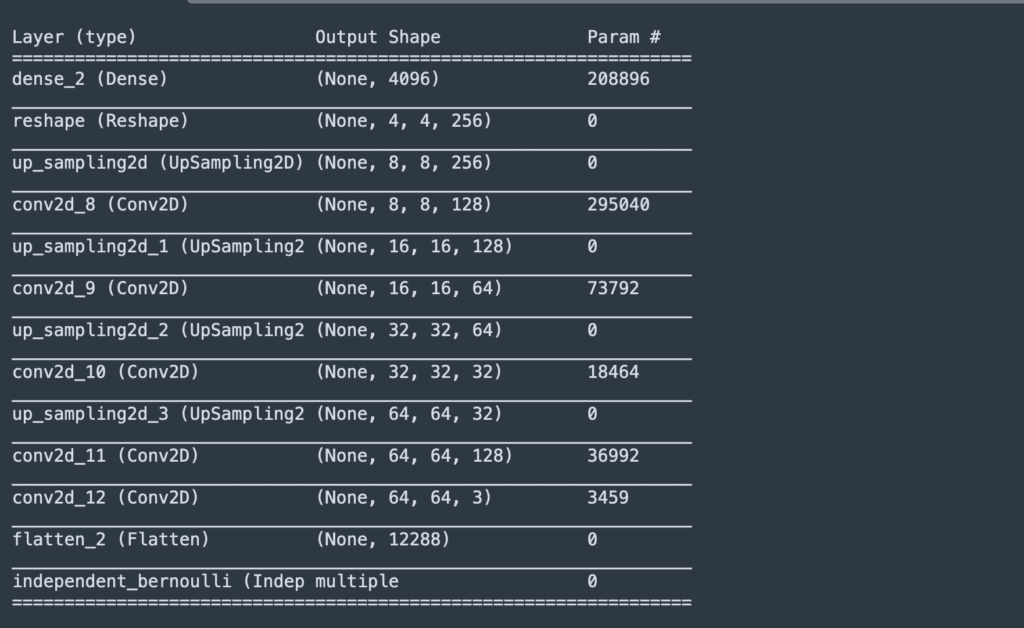
Step 4: Define the Decoder network
The decoder network will return an IndependentBernoulli distribution of shape (64, 64, 3). The following Tensorflow output shows the structure of the convolutional neural network (CNN) that forms the decoder:
Step 5: Connect the Encoder and Decoder
We’ll link the encoder and decoder together using this Tensorflow command:
Vae = Model(inputs=encoder.inputs, outputs=decoder(encoder.outputs))
And define the loss function using this expression:
Def reconstruction_loss(batch_of_images, decoding_dist):
return -tf.reduce.reduce_mean(
deconding.dist.log_prob(batch_of_images), axis=0
)
Step 6: Compile the Model
Run the following command to compile the model and fit it using the Adam optimizer. Training can take time—if possible, run it with appropriate hardware acceleration.

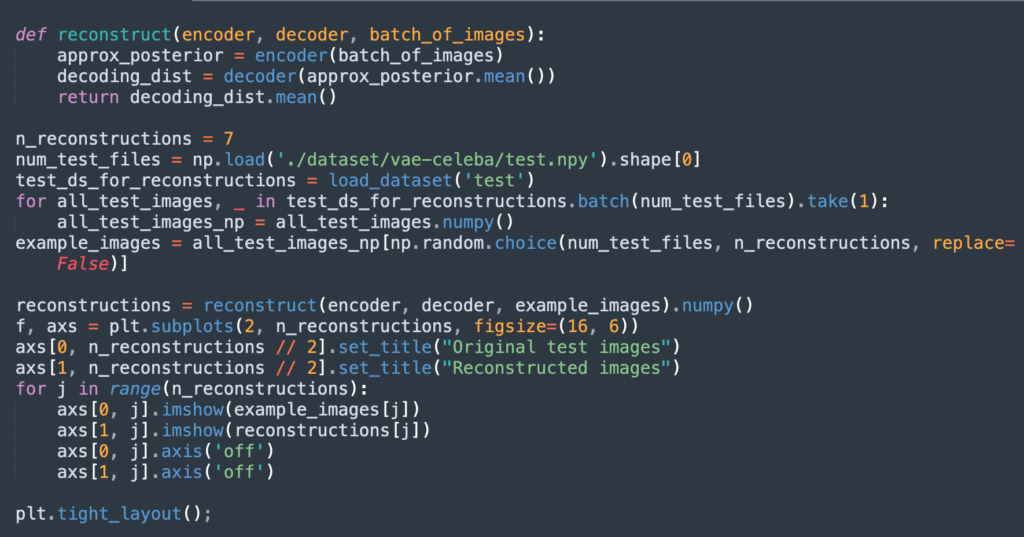
Step 7: Create Reconstructions of the Test Images
The following function allows us to reconstruct images from the original dataset after they have gone through the encoder-decoder architecture.
The function gets the mean of the encoding distribution, passes latent vectors to the decoder, and returns an output distribution of shape (batch_size, 64, 64, 3).
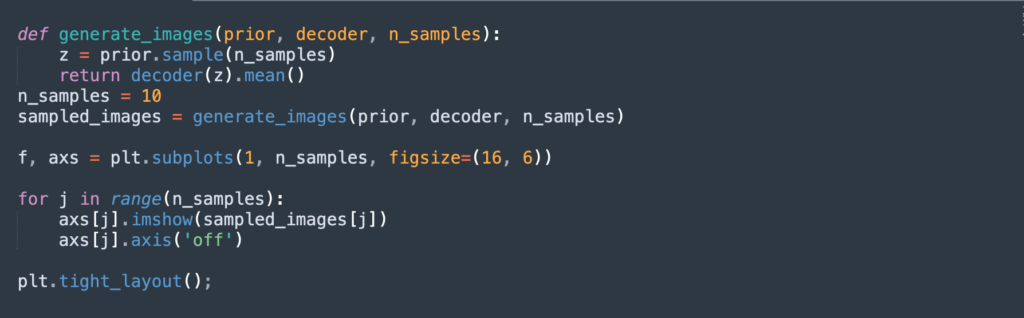
Step 8: Generate New Images
The final step is to sample latent vectors from the prior distribution and decode them with the decoder to generate new images. The following function can achieve this—it accepts the prior distribution, decoder network, and number of required samples as its arguments.
This function returns the mean of the Bernoulli distribution—a Tensor of shape (n_samples, 64, 64, 3).
Below is an example of new face images generated by the model:

Source: Chanseok Kang
Adding New Attributes to Faces
Another option for generating new face images using the VAE model is to add new attributes to faces that did not have them before:
- Each image in the CelebA has labels indicating attributes of the person in the image.
- You can encode a group of images that have a certain attribute by passing them through the encoder, obtain a single, average latent code for all the images, and then do the same for images that do not have the attribute.
- The difference between the two vectors represents a direction in the latent space that indicates the presence of that attribute.
- Finally, you can modify the reconstructed images by encoding them using the attribute vector, where it wasn’t present before, adjusting its strength using a multiplication parameter.
- When you decode the result, this should generate images with a new attribute.
While CelebA is a useful dataset, it contains only famous people at their best, which means any network trained on it will be biased and work less well on regular faces that you would meet on the street. This is typically the case for the VAE in the tutorial above, which as generates faces of people that look like movie stars.
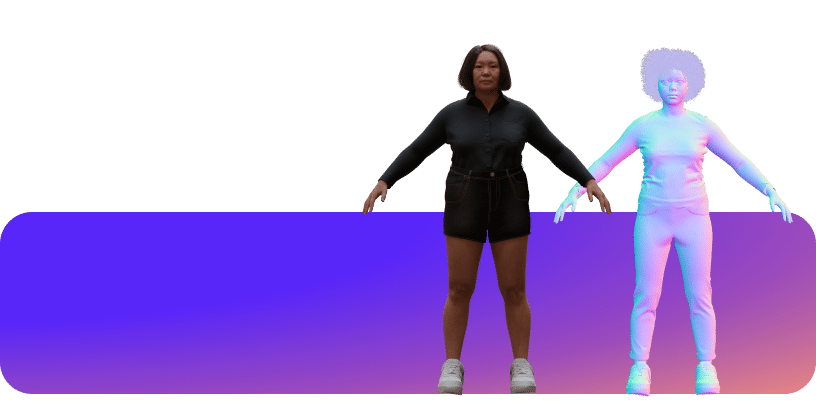
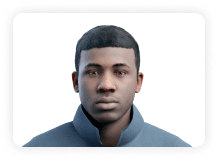
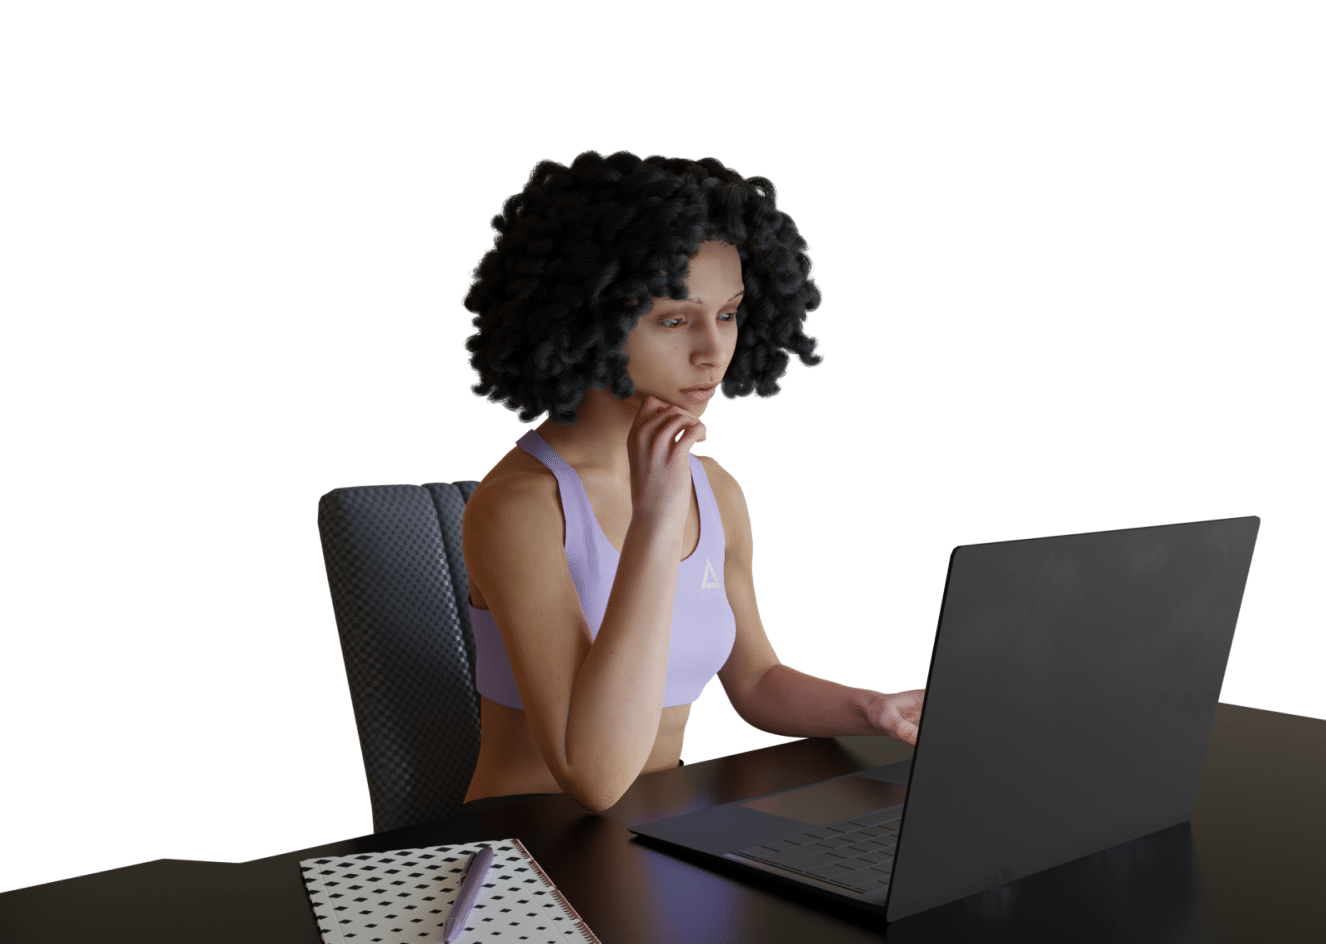
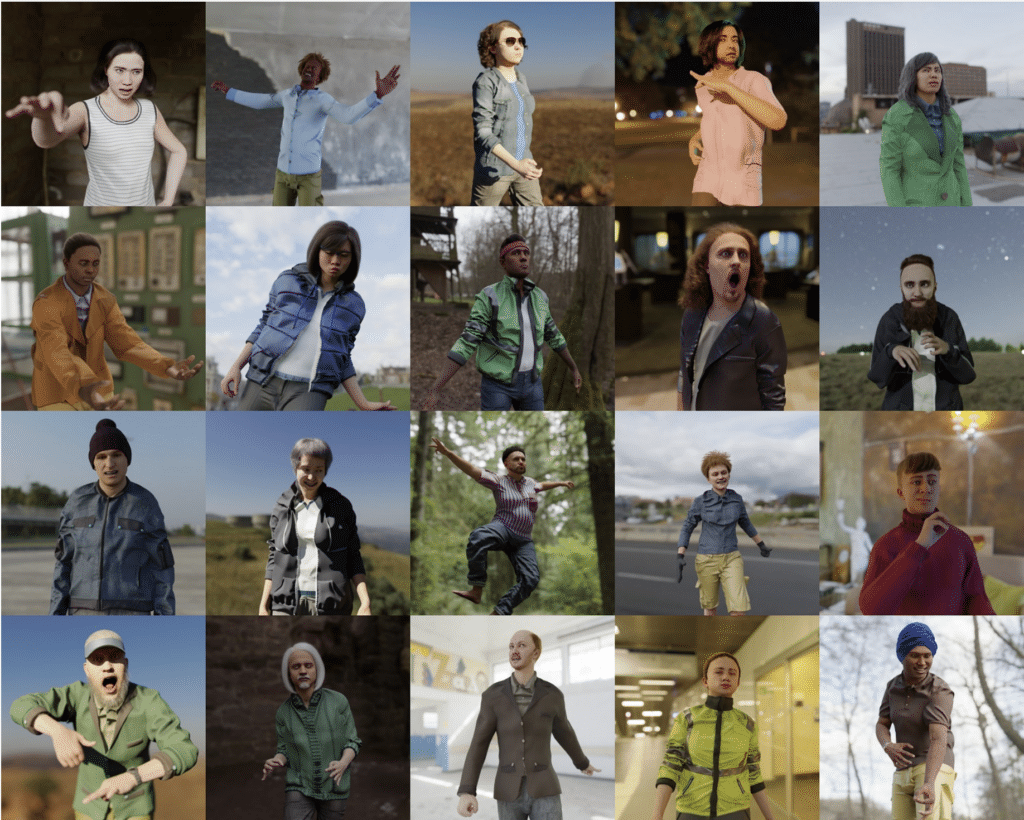
If you want to complement this dataset with a high-variance, realistic datasets of faces that are closer to your application domain, synthetic data is the answer.
Get our free eBook
How to use synthetic data in 6 easy steps

Read More
The State of Facial Recognition Today
Procedural Humans for Computer Vision